Posted 13 years ago
·
Author
Neutral Soft Light [NSL] is a superior enhancing technique than using the dodge and burn tools for one simple reason; your skin does not come out orange toned and a color fix is not needed. Color fixing simply desaturates your skin creating this gray filmy look. The NSL technique is one that I use when I retouch professional photography photos (portraits). It can clear the skin down to the tiniest pore.
Enough chatting. Business time.
NOTE: This is a simple tutorial. It requires you to have some knowledge of photoshop and skill of your own.
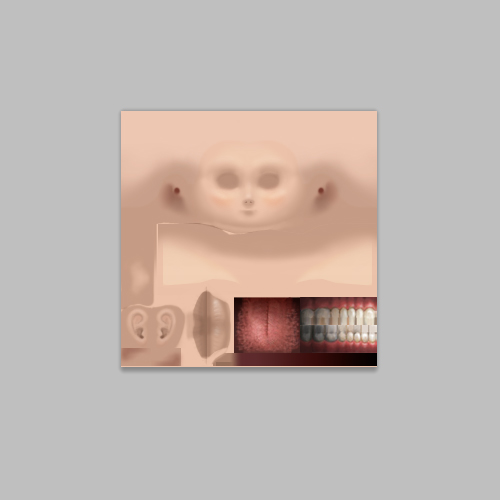
1. Open your skin file of choice. I have Mayu's pulled up just as an example.
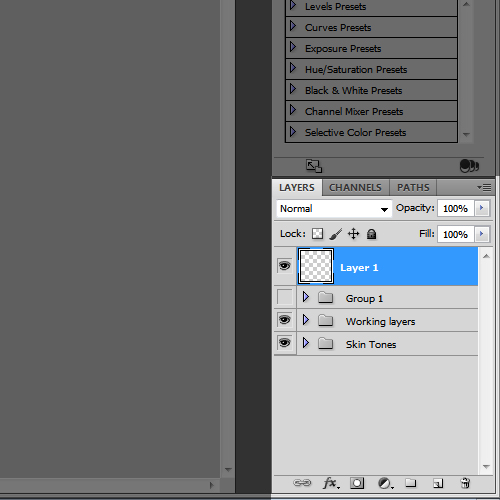
2. Create a new layer above everything else.
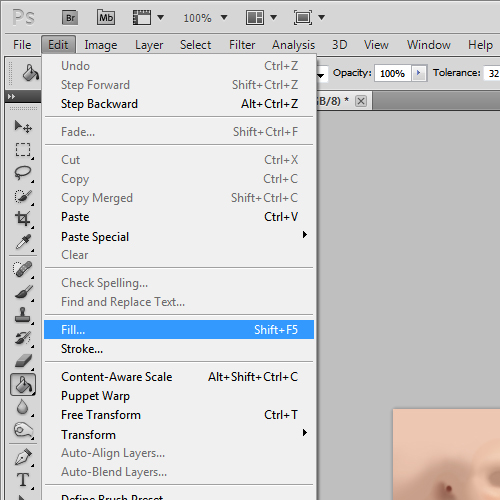
3.Go to Edit > Fill....
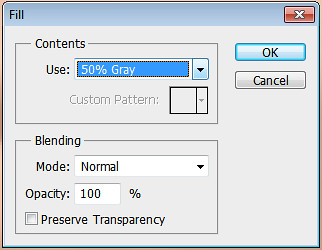
4. Use these settings. You are filling with 50% gray.
5. Change your blending mode to "Soft Light" (duh.)

6. Choose a soft brush and set these settings. You can alter these to your preference. 10-20% on both opacity and flow is good.

7. Set your background and foreground colors to #000000 and #FFFFFF so that you can flip back and forth between the two. Black is to darken an area and white is to lighten an area. If you make a mistake you can set your layer mode to Normal, eyedrop the grey and "erase" your mistakes with your brush by simply painting over them.

That's all!
Enough chatting. Business time.
NOTE: This is a simple tutorial. It requires you to have some knowledge of photoshop and skill of your own.
1. Open your skin file of choice. I have Mayu's pulled up just as an example.
2. Create a new layer above everything else.
3.Go to Edit > Fill....
4. Use these settings. You are filling with 50% gray.
5. Change your blending mode to "Soft Light" (duh.)
6. Choose a soft brush and set these settings. You can alter these to your preference. 10-20% on both opacity and flow is good.
7. Set your background and foreground colors to #000000 and #FFFFFF so that you can flip back and forth between the two. Black is to darken an area and white is to lighten an area. If you make a mistake you can set your layer mode to Normal, eyedrop the grey and "erase" your mistakes with your brush by simply painting over them.
That's all!

